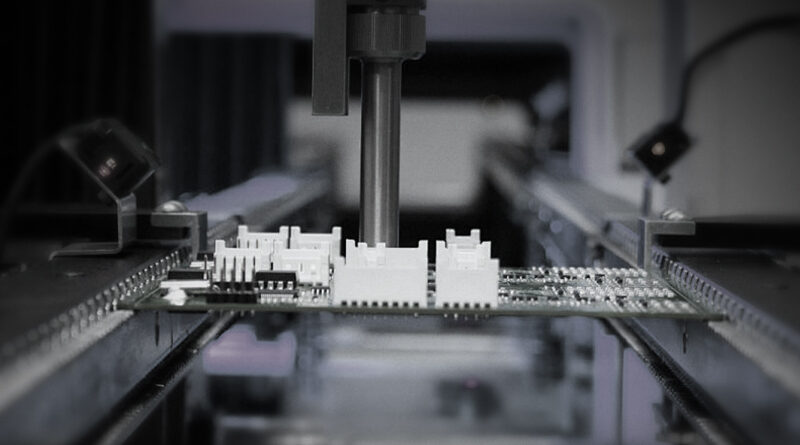
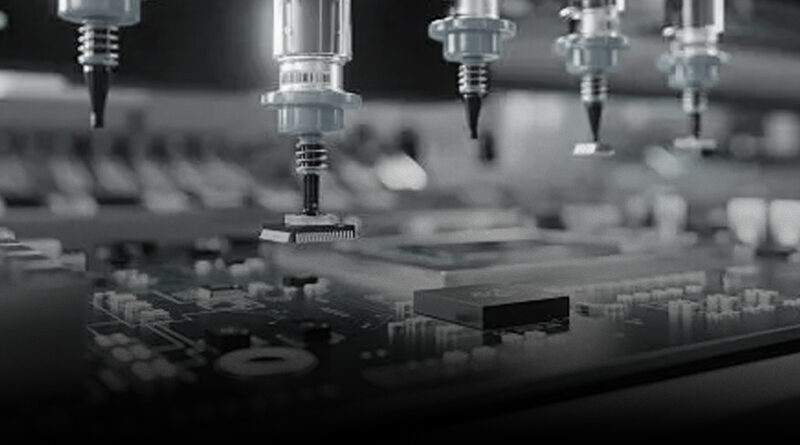
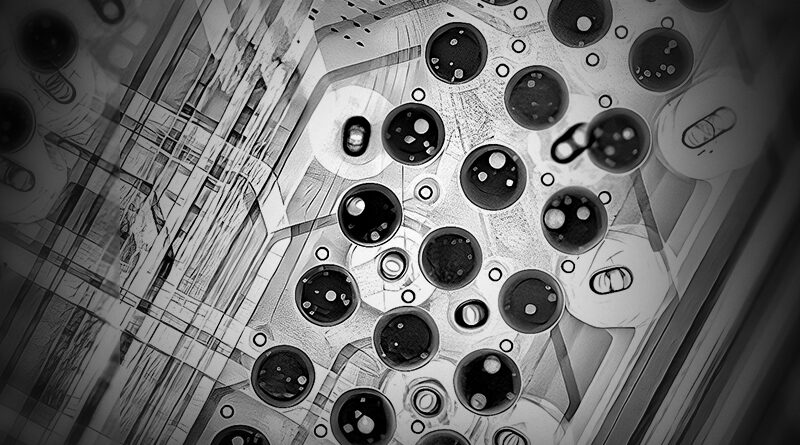
In the field of SMT assembly, electronic components are becoming increasingly smaller and soldering densities are rising. Traditional manual visual inspection or conventional optical inspection equipment (AOI) is no longer sufficient to meet the demands for high-precision and high-reliability quality control when faced with complex solder joint structures. In this context, X-ray inspection technology, with its non-destructive nature, high resolution, and ability to visualize internal structures, has enabled Nectec to produce a series of high-quality, high-precision X-ray inspection machines, which have become essential tools for ensuring product quality and enhancing manufacturing processes. There are total of four key points we would like to discuss in this passage.
First is why do SMT assembly factories need X-ray inspection nowadays. The reason behind this question is simple. In the SMT assembly process, components with leadless or semi-leadless packaging, such as BGA (Ball Grid Array), QFN, and LGA, are widely used. The solder joints of these components are mostly hidden beneath the components, making them difficult to inspect visually or via AOI. Defects such as bubbles, cold solder joints, short circuits, and open circuits within the solder joints are critical factors affecting the stability and reliability of electronic products. Also, X-ray inspection technology can penetrate packaging materials to image internal solder joints, enabling the detection of potential defects without disassembling the product. This ability to “see inside” makes it an important supplement to traditional inspection methods, particularly suited for high-end electronic manufacturing sectors with stringent quality control requirements, such as automotive electronics, medical electronics, industrial control systems, and military products.
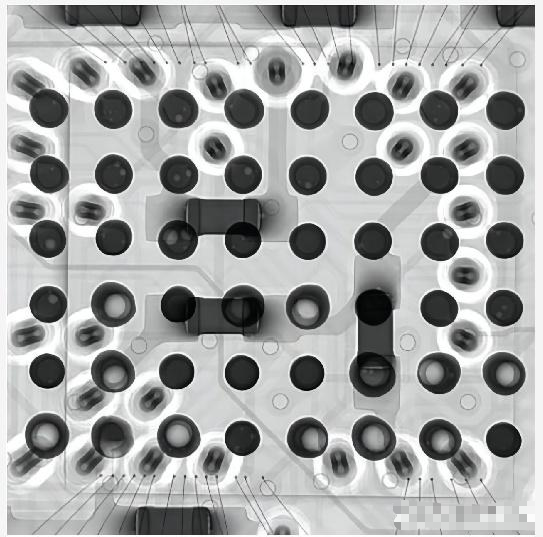
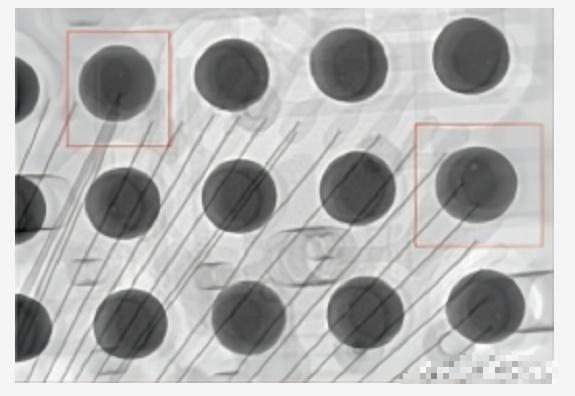
Second, we will provide a brief description on the principles behind X-ray inspection machines. X-ray inspection is a non-destructive testing method that uses X-rays to penetrate objects and create images at the receiving end, enabling visualization and analysis of internal structures. As X-rays pass through objects, they undergo varying degrees of attenuation depending on material density and thickness, resulting in different gray-scale contrasts in the images, thereby revealing the internal structural characteristics of the tested object. On the other hand, in SMT assembly factories, X-ray equipment is primarily used to inspect solder joint morphology and determine the presence of defects such as voids, cold solder joints, bridging, or insufficient solder. With high-resolution X-ray sources and image acquisition systems, operators can precisely analyze the quality status of each solder joint.
Third, we will discuss the applications of X-ray inspection machines in real life. Situation one: inspection of bottom-mounted devices such as BGA and QFN. The reason is because traditional inspection methods are unable to access the internal solder joints of such packages, whereas X-ray can clearly show the distribution, size, bubble ratio, and overall soldering quality of spherical solder joints, making it the preferred method for detecting cold solder joints and bridging; Situation two: identification of solder voids and insufficient solder. The reason is because bubbles inside solder joints can cause electrical instability and even device failure. X-ray imaging helps engineers visually assess the size and location of voids, providing a basis for process improvement; Situation three: repair and failure analysis. The reason is because during customer returns or quality inspection processes, X-ray technology can be used to non-destructively locate defects, effectively shortening the problem troubleshooting cycle, avoiding unnecessary repairs and disassembly, and improving overall inspection efficiency;
Situation four: first article inspection and process validation. The reason is because the inspection for initial product after SMT mounting is an important step in ensuring the consistency of mass-produced products. A comprehensive scan of the first article using X-ray technology can promptly identify process deviations and correct them, thereby preventing subsequent mass production defects.
Four, we will discuss the valuable outcomes that the X-ray inspection process can bring to the SMT factories. Outcome one is improving product yield rate. The reason is because detecting welding defects in advance can prevent defective products from entering downstream processes, thereby significantly reducing rework rates and scrap rates; Outcome two is supporting lean manufacturing and process improvement. The reason is because it can continuously monitor the welding quality at key process points and return the results to the production line to adjust parameters in a timely manner. Then, closed-loop control is achieved and therefore improve the stability of the manufacturing process; Outcome three is meeting customer requirements for high-quality delivery. The reason is because high-end customer or international orders usually use X-ray as a quality assurance measure prior to shipment to significantly enhance the professionalism and trustworthiness of the SMT factory in the eyes of customers; Outcome four is assisting to obtain third-party certification and quality audits. The reason is because when we face ISO quality system or customer factory audits, X-ray inspection capabilities are often used as a demonstration of advanced inspection methods, helping SMT factories establish a standardized and professional image.
To conclude, With the trend toward increasingly sophisticated and highly reliable electronic manufacturing, X-ray inspection equipment has become an important part of the SMT industry as a high-precision, non-destructive quality assurance tool. In the future, with the development of automation and intelligence, X-ray inspection will also be linked with AI image recognition and MES systems to provide SMT chip factories with smarter and more efficient full-process quality solutions.


